Trail Camera vs. Bird Feeder Camera: Which One Should You Buy?
A feeder camera clamped to the kitchen window and a trail camera strapped to the oak at the back fence look like cousins. Both watch birds when you can't. Both hand you clips worth rewatching on a wet Sunday. But they are built for two different jobs, and buying the wrong one is the fastest way to spend real money on footage you never open twice.
The differences come down to distance, delivery, and how much babysitting each device needs. Here is what actually matters.
What each camera is designed to do
A feeder camera lives within arm's reach of the food. It focuses on subjects a few inches away, shoots in color, and pushes clips or a live view to your phone over Wi-Fi. You watch as it happens, or close enough.
A trail camera sits fifteen or twenty feet from a path, a brush pile, or a baited log and waits. Its job is to notice movement instantly, fire within a fraction of a second, and record to an SD card you collect later. Color by day, infrared black-and-white after dark.
That split — close and connected versus distant and self-sufficient — explains almost every other difference between the two.
Image quality: different contests, different winners
Feeder cameras
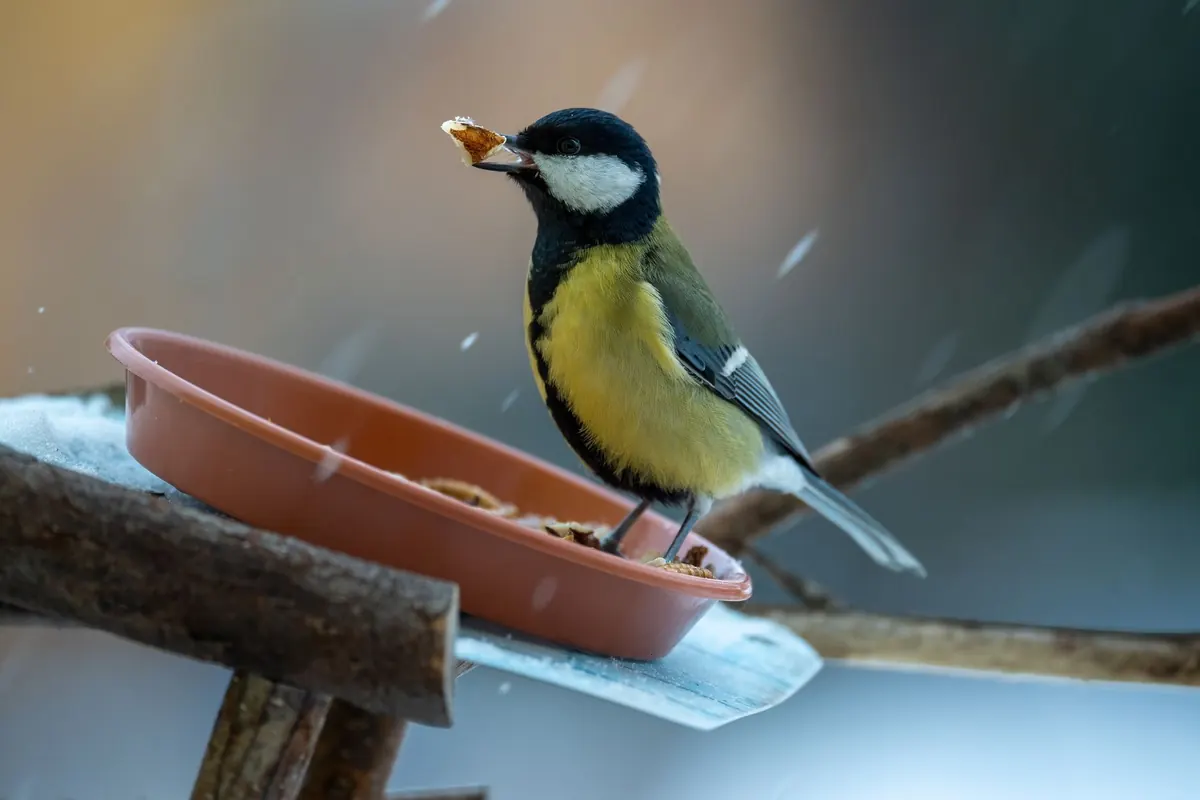
This is where feeder cameras earn their keep. Because the bird fills a good portion of the frame, detail holds up: feather patterns, eye rings, the tar-like gloss on a grackle's head. Color is the default, day and night, thanks to a built-in white light or a color-capable sensor. Many models record audio, which matters more than people expect — the chatter at a busy feeder tells you a hawk is somewhere overhead.
Watch for two weaknesses. First, window-mounted cameras fight reflections; at night, interior lights bounce off the glass and wash out the picture, so kill the room lights or mount the camera outside the pane. Second, some apps attempt automatic species identification. Treat those labels as a suggestion, not a record.
Trail cameras
Trail cameras trade sharpness for reach and trigger speed. A bird two feet from the lens will be a soft blur, because the fixed focus is set for several feet and beyond. Move the camera back to eight or ten feet, though, and you get clean, wide shots of a whole feeding station — the jays squabbling, the squirrel making its approach, the Cooper's hawk that empties the yard in four seconds.
Video resolution numbers on the box deserve scepticism; interpolation inflates them. Judge by sample clips at night and in motion, not by the largest number printed on the front. And check whether the model records sound at all — many do not.
Mounting options and placement
Feeder cameras shine on windows, feeder poles, and purpose-built brackets. Window mounts are the easiest and the least stable; suction cups fail in cold, and a camera aimed through double glazing loses contrast. A pole clamp or a dedicated feeder bracket gives you a cleaner angle and no glass in the way.
Trail cameras mount with a strap, a cable lock through the security slot, or a tripod screw on the bottom. Placement matters more than hardware:
- Height: roughly bird height, not human height. Two to three feet off the ground gives you eye-level portraits instead of the tops of heads.
- Angle: tilt down slightly and put the feeder at the upper third of the frame. Sensors trigger on heat crossing the middle of the detection zone.
- Sun: avoid aiming east, or you'll spend every sunrise deleting blown-out frames.
- Distance: eight to twelve feet from a feeder, further for a whole feeding station.
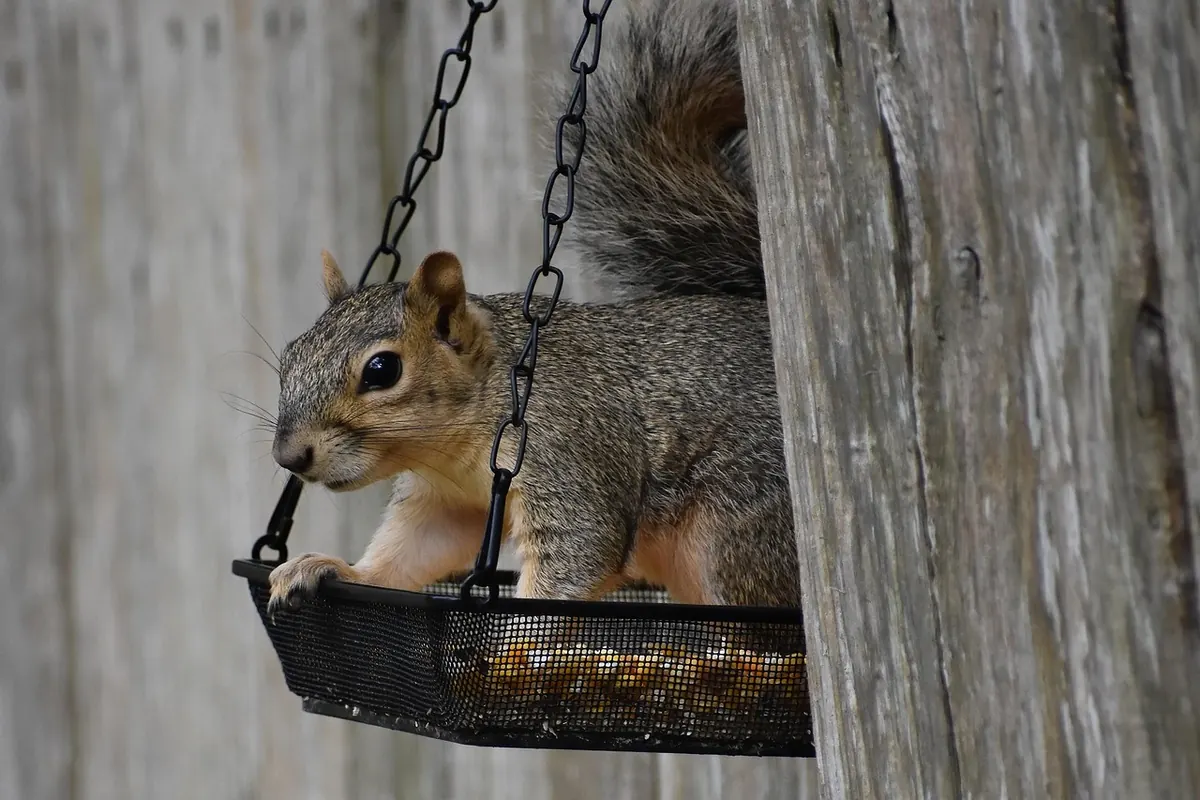
- Security: use the cable lock. Squirrels chew straps, and so do raccoons.
Battery life and power
Feeder cameras are power-hungry because they stream. A camera that uploads every motion clip over weak Wi-Fi will drain a charge in days; the same camera with a strong signal and a solar panel can run indefinitely. If you plan to watch live video for hours, expect to plug into mains power or accept frequent charging.
Trail cameras run on AA batteries and are stingy about it. In mild weather, good alkaline cells can last months on modest settings. Cold changes the math fast — a hard frost can cut runtime in half — so switch to lithium batteries for winter and keep a spare set indoors. A small solar panel helps if the camera gets decent light.
Other housekeeping that pays off: use a card sized for the job rather than the biggest one you own, format it in the camera, and note the date you installed it. A card that fills up in three days is worse than a modest one you swap weekly.
Whichever camera you choose, decide now how the footage gets to you. Storage and retrieval, not megapixels, are what make a backyard camera useful or useless.
Price and ongoing costs
Trail cameras generally cost less up front, need no subscription, and run on batteries and a memory card you already have. You pay in inconvenience: no live view, a walk to the tree, and card swapping in the rain.
Feeder cameras cost more for the hardware, and many useful features — cloud storage, longer clips, species suggestions, sharing — sit behind a monthly plan. Add a strong Wi-Fi signal at the mounting spot and a solar panel if the camera is outdoors, and the total climbs. What you buy with that money is immediacy: a notification on your phone when the first warbler of spring lands.
Factor in your habits honestly. A subscription is worth it if you check the app daily. It is wasted money if you forget the login by week three.
Which one should you buy?
Choose a feeder camera if: you want color close-ups, you watch from a desk or kitchen table, you have reliable Wi-Fi at the window, and you'd rather see a bird now than find it on a card next weekend.
Choose a trail camera if: you want to cover ground feeders, brush piles, and water features; you're curious about the ground birds a window camera never catches — thrushes, towhees, catbirds in the leaf litter; or you want a rugged camera you can leave alone for weeks.
If your budget only stretches to one purchase, buy the trail camera first. It's cheaper, tougher, and it will teach you where your birds actually spend their time, which makes any later feeder-camera purchase smarter.
A practical way to decide
Before you buy anything, set up the camera you already own — a phone on a tripod works fine — aimed at your feeder for a week and note what you actually want more of. Closer detail, or the corner of the yard the feeder doesn't cover?
Then match the hardware to that answer. If you go the feeder-camera route, install the app and check the live view from the spot you intend to mount it before the return window closes; a weak signal is the single most common reason these cameras end up in a drawer. If you go with a trail camera, spend your first two weeks experimenting with height and distance rather than settings. A well-placed cheap camera beats a badly placed expensive one every time.
And if you end up with one of each, don't feel indulgent. Plenty of backyard birders keep a feeder camera running through winter, when they're inside and the action is at the window, and a trail camera on the ground feeder year-round for everything the window misses. Two cameras, two windows into the same yard — which is, after all, why you started watching in the first place.
Photo: Ray_Shrewsberry / Pixabay